


Mataupu
Companies require documents in different formats. For some papers, the horizontal arrangement of information is suitable, for others – vertical. It often happens that after printing, an incomplete Excel table appears on the sheet – important data is cut off because the table does not fit on the sheet. Such a document cannot be provided to customers or management, so the problem must be resolved before printing. Changing the screen orientation helps in most of these cases. Let’s look at several ways to flip an Excel sheet horizontally.
Finding Sheet Orientation in Excel
Sheets in a Microsoft Excel document can be of two types of orientation – portrait and landscape. The difference between them is in the aspect ratio. A portrait sheet is taller than it is wide – like a page in a book. Landscape orientation – this is the case when the width of the sheet is greater than the height, and the sheet is laid out horizontally.
The program sets the portrait orientation of each sheet by default. If the document is received from another user, and some sheets need to be sent to print, it is worth checking which orientation is set. If you do not pay attention to this, you can waste time, paper and ink from the cartridge. Let’s find out what needs to be done to determine the orientation of the sheet:
- Let’s fill in the sheet – it should contain at least some information so that the screen orientation can be seen further. If there is data on the sheet, move on.
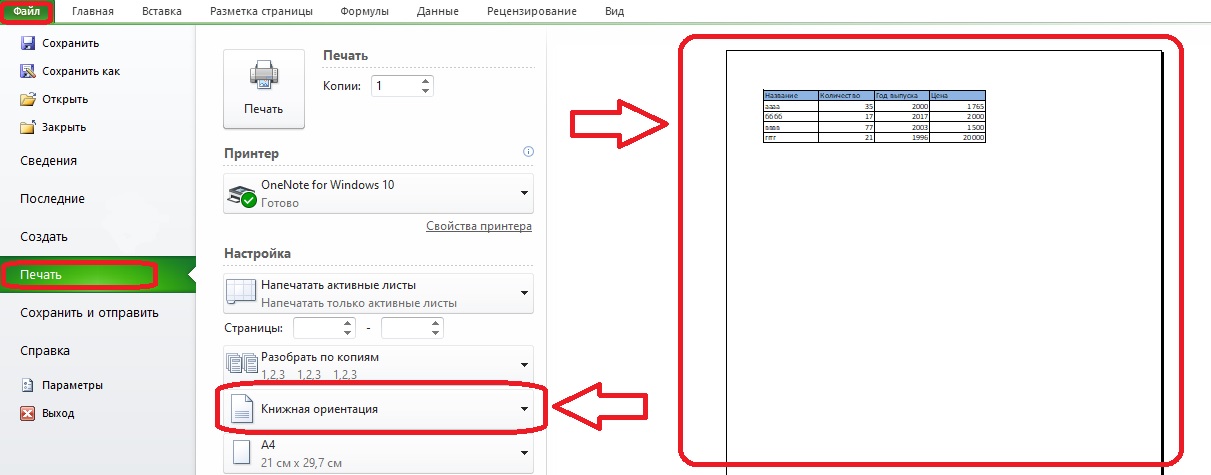
- Open the File tab and find the “Print” menu item. It does not matter if there is a printer nearby and whether it is connected to a computer – the necessary information will appear on the screen anyway.
- Let’s take a look at the list of options next to the sheet, one of the tabs says what the orientation of the sheet is (in this case, portrait). You can also determine this by the appearance of the sheet, since its preview opens on the right side of the screen. If the sheet is vertical – it is a book format, if it is horizontal – landscape.
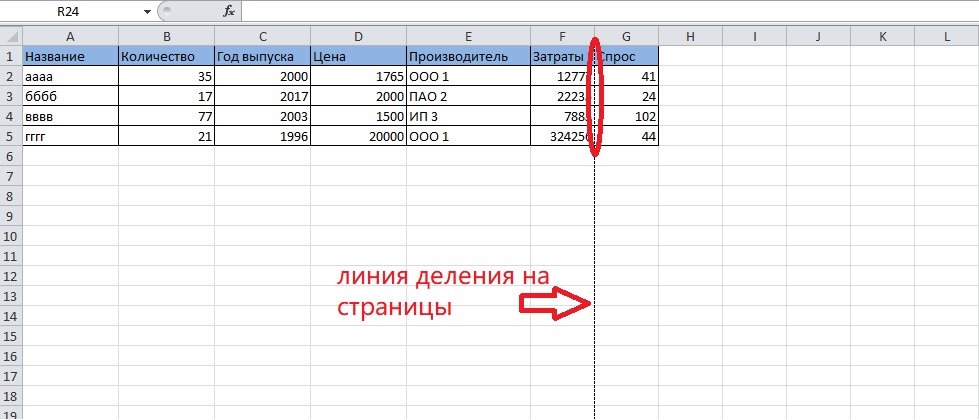
Taua! After checking, a dotted line appears on the sheet, dividing the field into parts. It means page borders when printed. If the table is divided by such a line into parts, it will not be printed completely, and you need to make the sheet format for printing horizontal
Consider several methods for changing the position of the sheet step by step.
Changing Orientation Through Printing Preferences
Before printing, you can not only check how the sheet and pages on it are oriented, but also change its orientation.
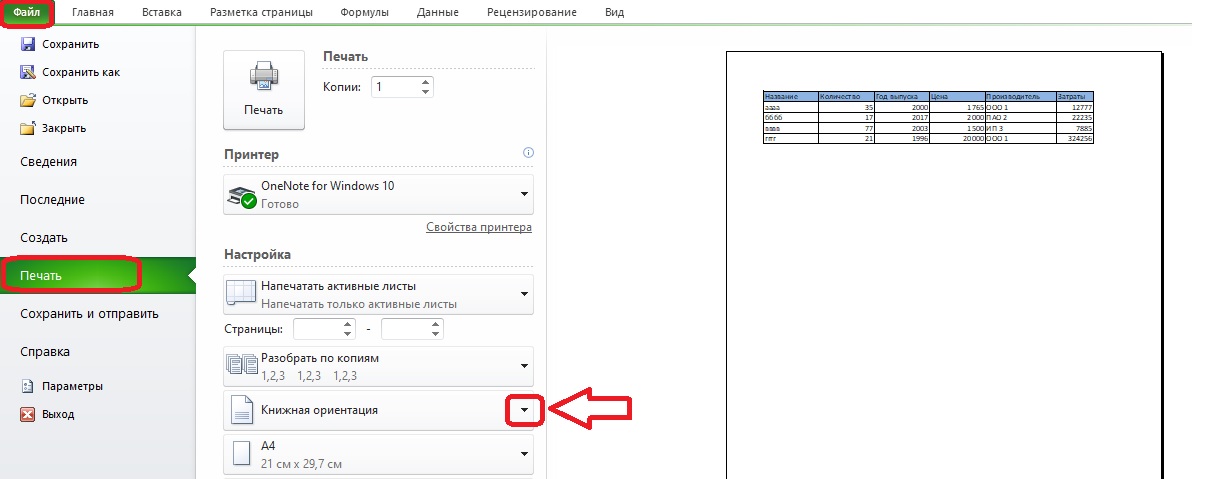
- Open the “File” tab again on the toolbar and go to the “Print” section.
- We look through the list of options and find in it a panel with the inscription “Portrait orientation”. You need to click on the arrow on the right side of this panel or at any other point in it.
- A small menu will appear. The horizontal position of the sheet is necessary, so we select the landscape orientation.
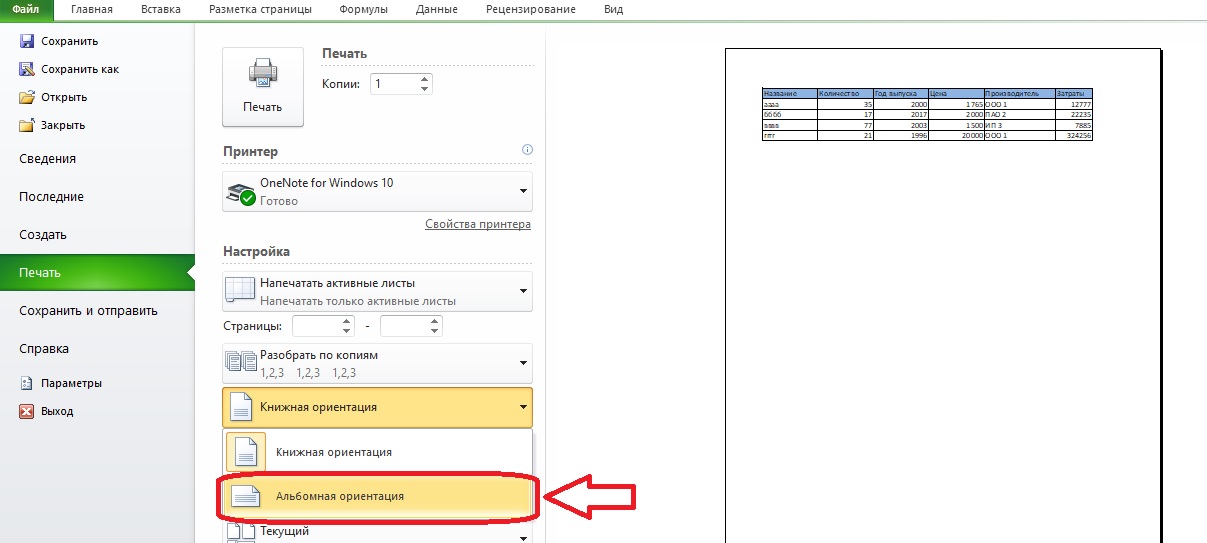
Faʻalogo lelei! After changing the orientation to the preview, a horizontal sheet should appear. Let’s check whether all the columns of the table are now included on the page. In the example, everything worked out, but this is not always the case. If, after setting the landscape orientation, the table does not fit completely on the page, you need to take other measures, for example, change the scale of data output to the page when printing.
Orientation change via toolbar
The section with the Page Setup tools will also help to make the sheet landscape in format. You can get to it through the print options, but it’s useless if you can use the “Portrait/landscape” button. Let’s find out what else can be done to change the aspect ratio of the sheet.
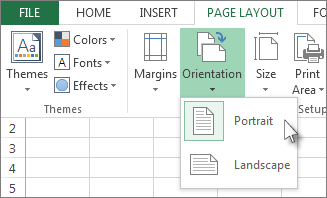
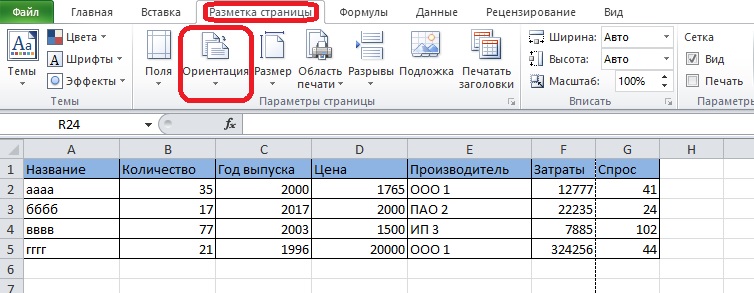
- Open the Page Layout tab on the toolbar. On the left side of it is the “Page Setup” section, look for the “Orientation” option in it, click on it.
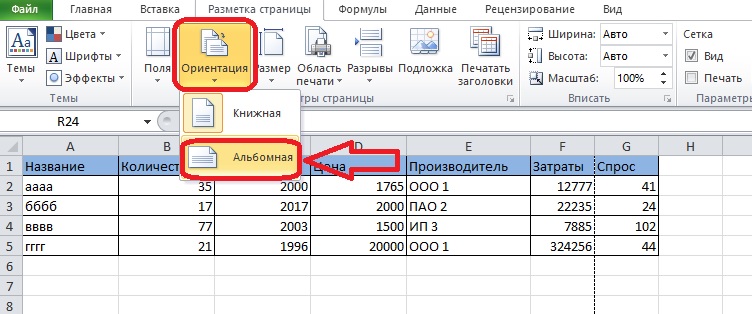
- The item “Landscape orientation” is the one you need to select. After that, the dotted line dividing the sheet into pages should move.
Changing the orientation of multiple sheets in a book
The previous ways to rotate a sheet to a horizontal position only work for one sheet of a book. Sometimes it is necessary to print several sheets with different orientation, for this we will use the following method. Imagine that you need to change the position of the sheets going in order. Here is what you need to do for this:
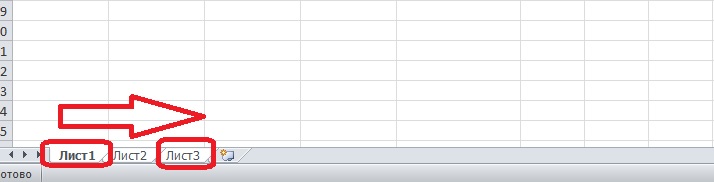
- Hold down the “Shift” key and find the first tab related to the sheet you want to change.
- Select several sheet tabs until all the desired sheets are selected. The color of the tabs will become lighter.
The algorithm for selecting sheets that are not in order is slightly different.
- Hold down the “Ctrl” key and click on the first desired tab.
- Select the following tabs with mouse clicks without releasing “Ctrl”.
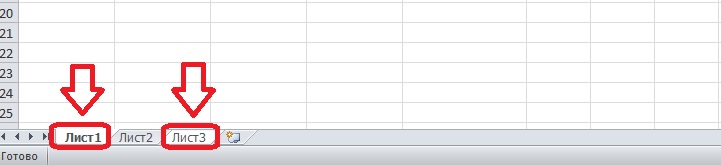
- When all tabs are selected, you can release “Ctrl”. You can identify the selection of tabs by color.
Next, you need to change the orientation of the selected sheets. We act according to the following algorithm:
- Open the “Page Layout” tab, find the “Orientation” option.
- Select landscape orientation from the list.
It is worth checking the orientation of the sheets along the dotted lines. If they are located as required, you can proceed to print the document. Otherwise, you need to repeat the steps strictly according to the algorithm.
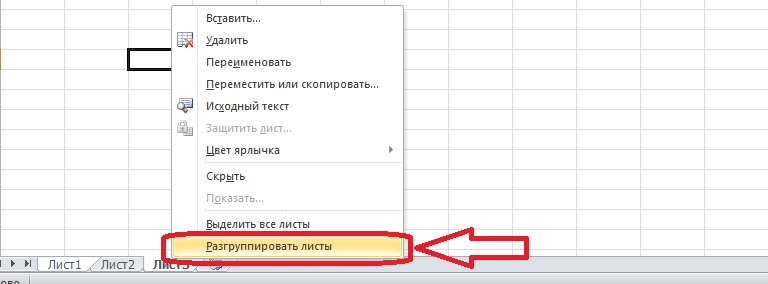
After printing is complete, you should ungroup the sheets so that this grouping does not interfere with future operations with tables in this document. We click on one of the selected sheets with the right mouse button and find the “Ungroup Sheets” button in the menu that appears.
Atu! Some users are looking for the ability to change the orientation of several pages within a single sheet. Unfortunately, this is not possible – there are no such options in Microsoft Excel. Changing the orientation of individual pages cannot be achieved with add-ons either.
iʻuga
The orientation of the Excel sheet is portrait and landscape, the difference between them is in the aspect ratio. You can change the orientation using the print settings or options on the Page Layout tab, and you can also rotate multiple sheets, even if they are out of order.